Espresso Coffee Brew Guide
Alright, so you’re ready to make some espresso magic! Whether you’ve got a fancy machine or just a solid espresso maker, pulling a shot is all about precision and a little bit of art. Here’s a step-by-step guide that’ll get you that perfect espresso shot every time.
What you'll need:
What you'll need:
- An espresso machine
- A grinder - we'd advise the Wilfa Uniform or Wilfa Svart grinder
- A tamp
- Scales
- Beans or pre-ground coffee (espresso grind)
How to brew:
How to brew:
1) Warm up the machine
First things first, turn on your espresso machine and let it warm up. This is like letting your car engine heat up on a cold day—it just works better when it’s warm. Give it a good 10-15 minutes to get up to temperature.
Pro Tip: Run some hot water through the machine to heat up the group head (the part where the ground coffee goes). This ensures everything’s nice and toasty!
2) Grind your beans
Freshly ground coffee is where the magic happens. Grab your favourite espresso beans and grind them to a fine consistency, almost like table salt. You don’t want it too coarse or too powdery - it’s gotta be juuust right.
Pro Tip: Invest in a good burr grinder if you can. Trust us, it makes a huge difference.
3) Weigh your coffee
For a single shot, you’ll want about 7-9 grams of coffee. For a double, around 16-18 grams. This part can seem extra, but weighing your coffee keeps things consistent and helps you avoid weak or over-extracted shots.
4) Tamp it down
Once you’ve loaded the coffee into your portafilter (the fancy handle thingy), it’s time to tamp. Tamping means pressing down on the coffee grounds to create an even surface. You want to press down firmly, but not Hulk smash it. Just enough pressure to compact the grounds evenly.
Pro Tip: Some say around 30 pounds of pressure is the sweet spot, but don’t stress about the exact number. Just make sure it's even and firm.
5) Lock and Load
Now, attach the portafilter to the machine. Make sure it’s locked in place - no one wants a leaky disaster on their hands! Line it up, give it a nice twist, and you’re good to go.
6) Pull that shot
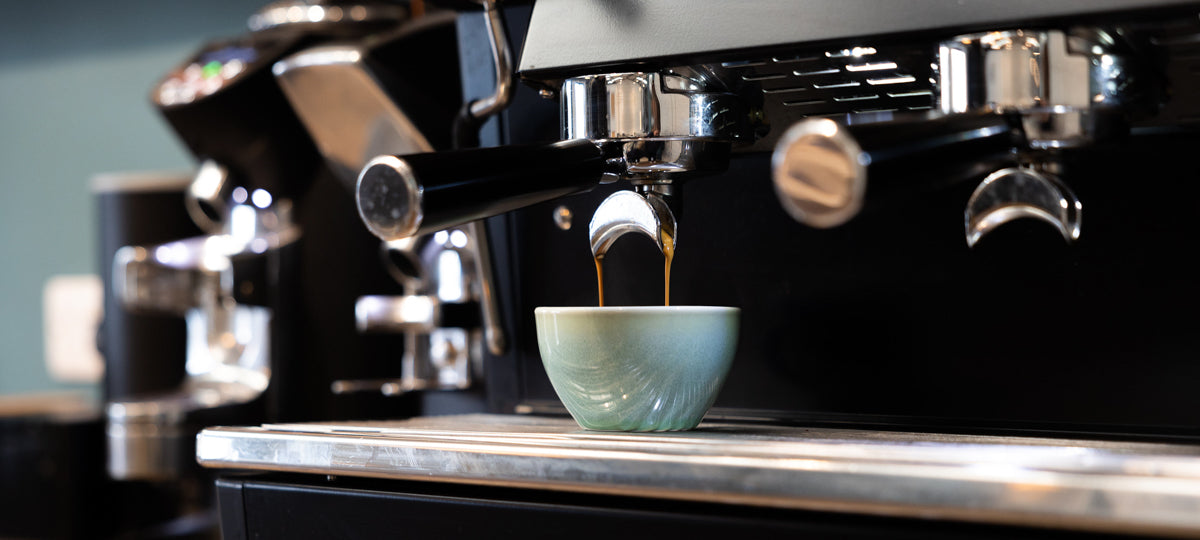
Here comes the fun part! Start the machine and watch the espresso flow. Ideally, you want the shot to take about 25-30 seconds from start to finish. If it’s too fast, your grind might be too coarse; if it’s taking forever, it’s probably too fine.
Pro Tip: You’re aiming for that golden brown, honey-like stream. If it looks like black water or takes less than 15 seconds, something's off with your grind or tamp.
7) Admire the Crema
The crema is that golden foam that forms on top of the espresso shot. This is where the flavour and texture comes alive. A good crema means you've nailed it! Thin and pale crema? You might need to tweak your technique.
8) Sip & Enjoy
Congrats, you’ve pulled your shot! Now it’s time to taste. A good espresso should be rich, smooth, and balanced. If it’s too bitter or sour, adjust your grind and tamp next time.
Bonus Tip: If you want to make a latte, cappuccino, or other espresso-based drink, now’s the time to steam your milk and add it to the shot.
Troubleshooting:
- Shot too fast? Try a finer grind or tamp a little harder.
- Shot too slow? Go for a coarser grind or ease up on the tamp pressure.
- No crema? Your coffee might be stale, or you might need to adjust your grind.
That’s it! With a little practice, you’ll be pulling perfect shots like a pro. Now go forth and caffeinate!


